By continuing, you agree to our use of cookies.
You’ve been selected as the data holder for Paper and Printing in the office. Your task is to complete the relevant sections for the Reporting Period using the onboarding wizard.
If you’re in your second year (or later) of analysis, you can jump straight to Step 2: Tweak your data to adjust the auto-generated entries.
You’ll find this task in your to-do list here: vso.alectro.io/todo-list

This guide will help you to enter the correct data to build this part of the company impact.
Office printing is usually managed by an external supplier and billed by the page—making it easy to get detailed and accurate information on how much you print.
If you’re in a shared office, communal machines may be used. In this case, your Office Manager can typically provide a usage report.
Need to request the data? Use our pre-written email template — just copy, paste, and send it to your supplier or account manager.
Dear [data holder], We're undertaking an analysis of our carbon impact and need some information about our paper and printing. If you could provide me with the following information for the period of [start date to end date], I'd be grateful:
Usage of Printed Pages: The total number of pages printed per month for each printer.
Many thanks, and please let me know if you have any questions!
While we recommend completing the data directly in the wizard, you can also collect and upload it manually.
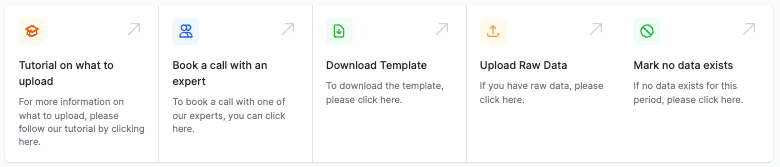
You're given a range of options within the Onboarding Wizard. One of these is to "Download Template". Click this to download the template.
A pop-up will appear showing Key Data and Location Data—use these to complete the Admin section (Step 1) of the template.
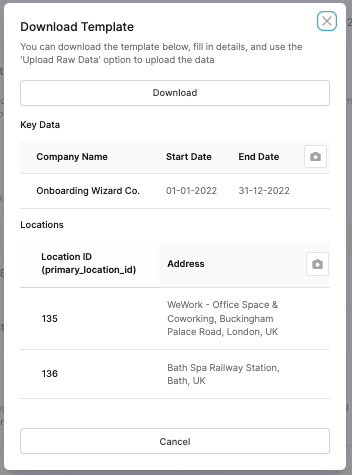
Add the relevant data into the Admin Section of the template (Step 1), and then complete the specific data (Step 2).
Once the data is completed, you can click "Upload Raw Data" to upload the data.
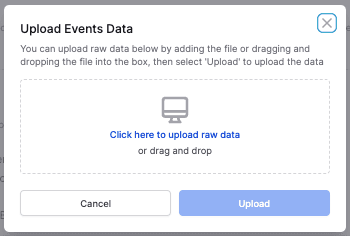
We’ll take it from there and get in touch if we need any clarifications.
Begin the task and open the Paper Onboarding panel.
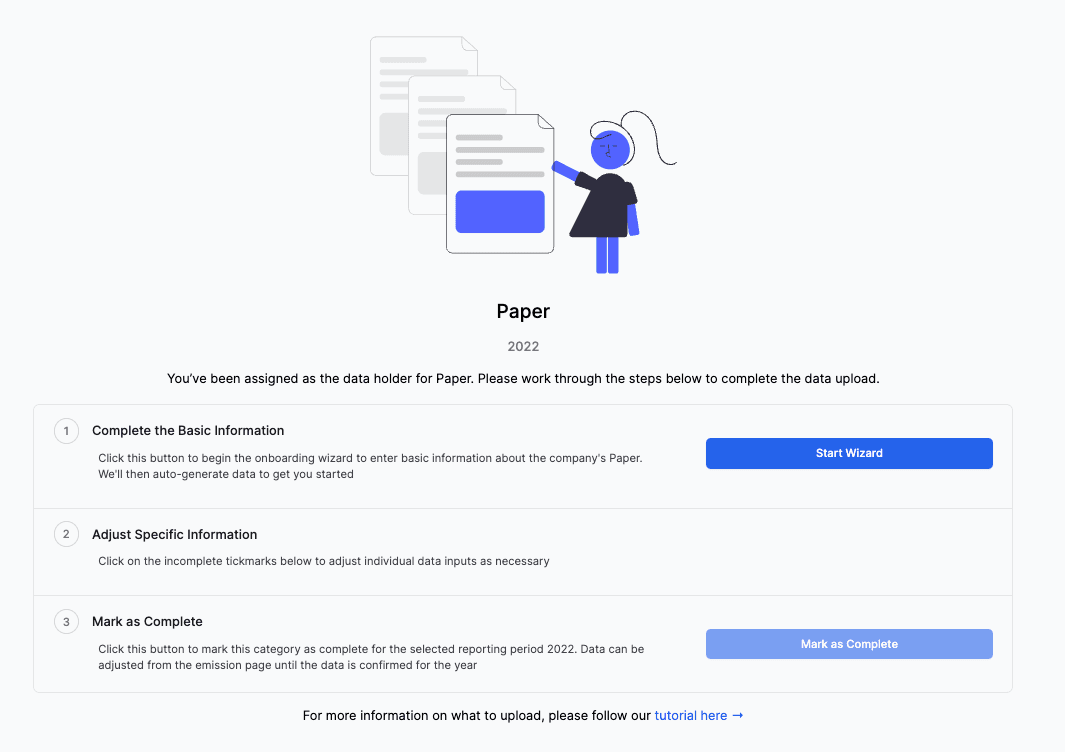
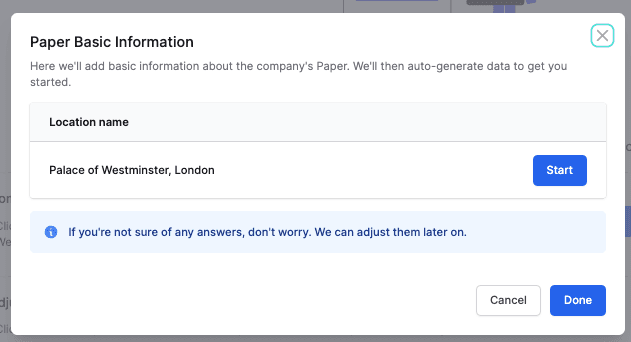
Click Start Wizard to enter your data.

Select the location you’re entering data for (check with your admin if you’re unsure).
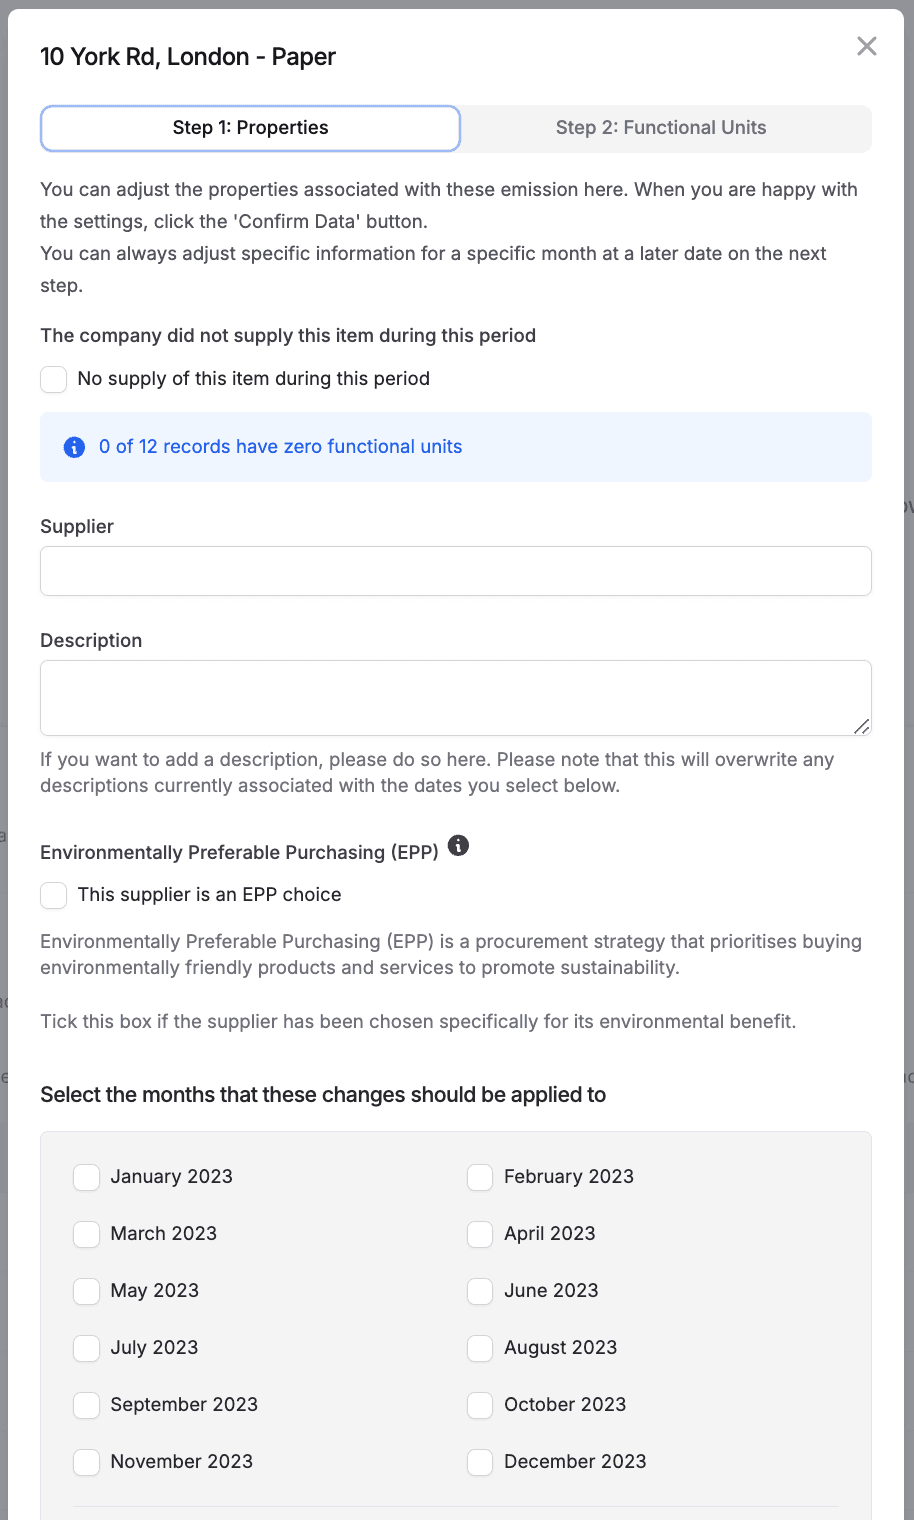
Add Supplier and Usage Details:
Which company handles your printing? Tell us who deals with your printing. We can make suggestions if the supplier isn't aligned with the company's net zero goals. Don't worry if you don't have this information, it can be entered or updated later on.
Is this supplier an EPP choice? Has this supplier been chosen with Environmentally Preferred Purchasing in mind? Again, don't worry if you don't have this information, it can be entered or updated later on.
Add data about your paper usage by selecting one of the following options. This is just to populate the data, you'll have a chance to update it in the next step.
High: this would indicate that you print lots of documents as a first response
Medium: this would indicate a normal office situation
Low: this would indicate you print as a last resort
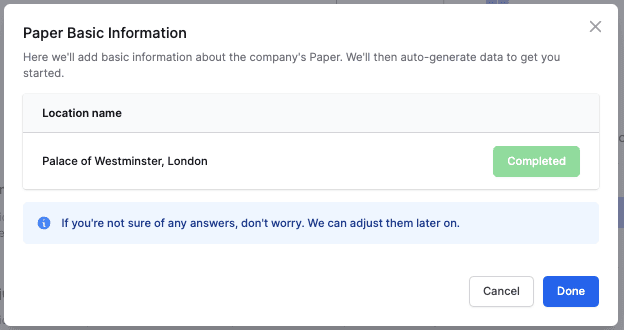
When you're done, click to Submit the data.

Need to complete another location? Use the location selector or return to the wizard homepage and click Done.
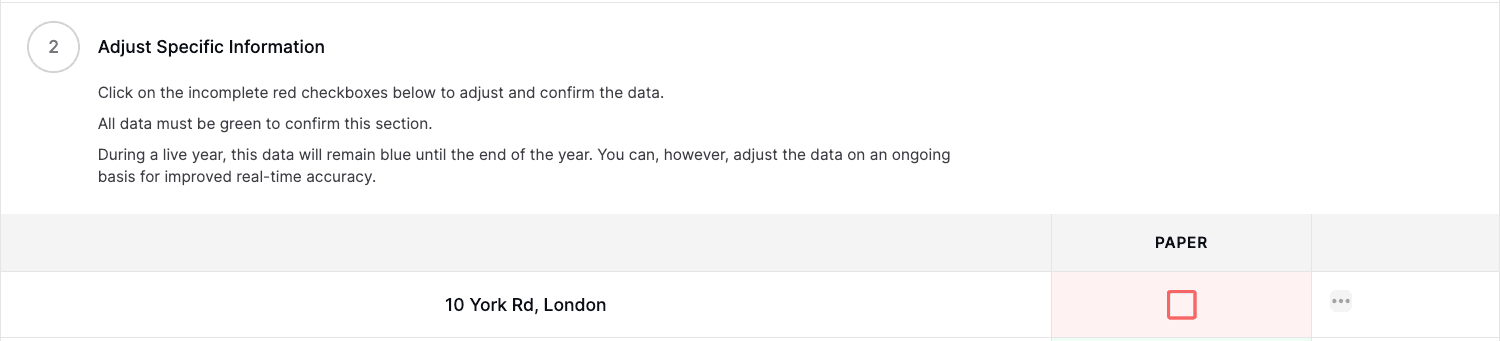
After completing the wizard, you can refine your monthly data:
Click the red square next to a location to open the edit modal.
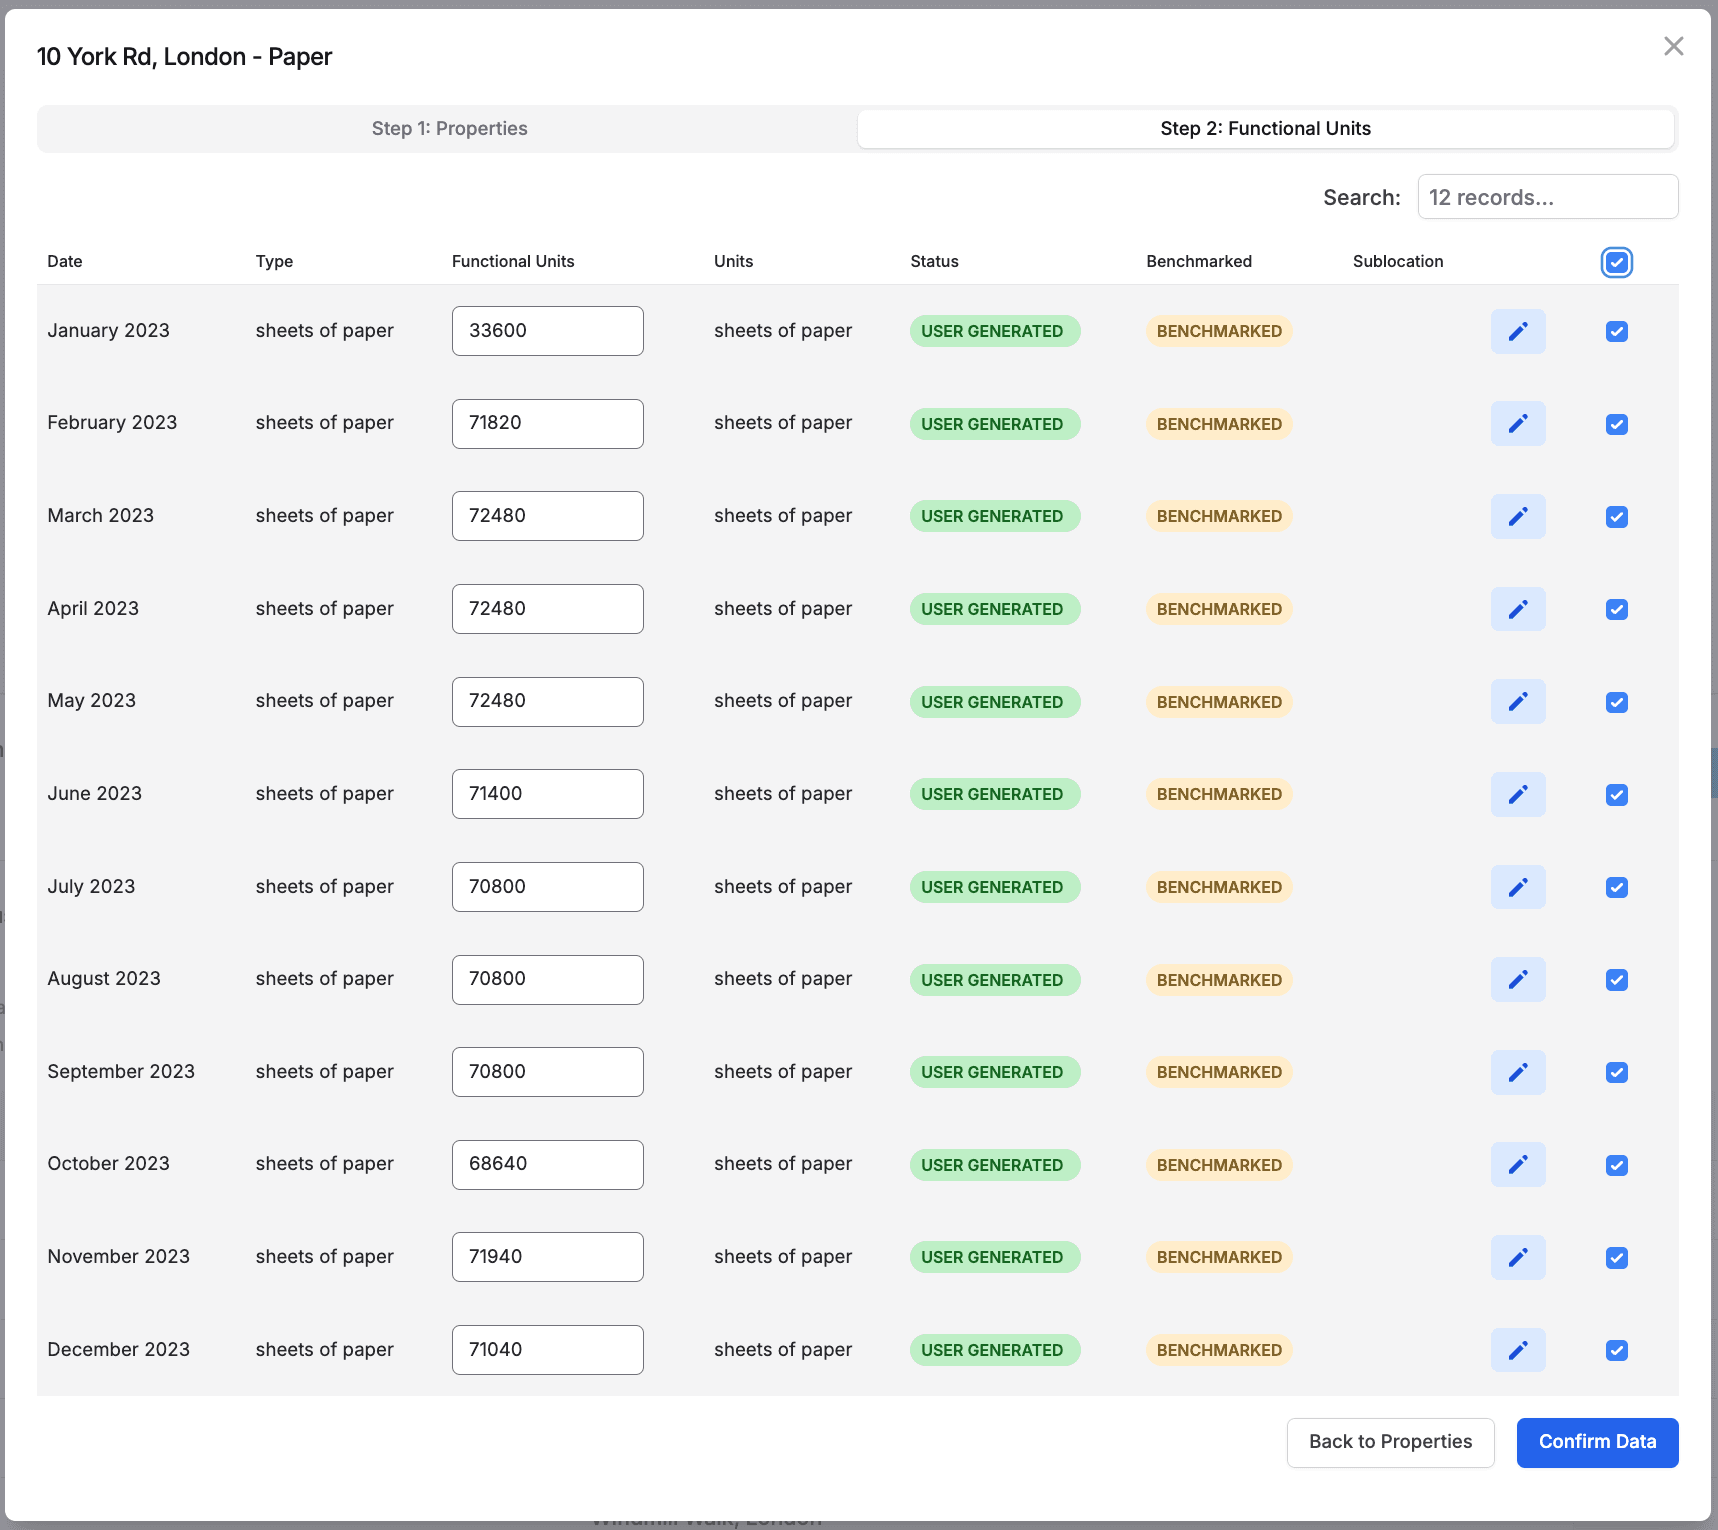
Update the monthly paper usage by adjusting the functional units.
Data is typically given by size and type of paper printed. You can simply sum-up the A4 pages (colour and black&white) and multiply A3 pages by 2, to find the total.
For example, in January, if I have 100 A4 B&W + 50 A4 Colour + 60 A3 Colour, the total would be (100 + 50 + (2 * 60)) = 270 sheets for January.
Once you've made your edits, check the box on the right hand side, and click to Confirm Data. This will adjust the data from AUTO-GENERATED to USER-GENERATED.
To adjust the metadata associated with the data, you can click on an entry for one of the locations and navigate to Step 1: Properties. You can then make adjustments here.
Once all data is reviewed, each completed location will show a green check mark.

Once all locations are completed, you can mark the whole section as complete by clicking Mark as Complete.
The section will complete, and you can go back to your to-do list if you have other items to complete, else your work is done!

Your to-do list will now have a completed message in it.

Good News!
Paper and Printing is one of the most accurately documented data sources in the project—so you should be able to get the information easily!
Ask your Office Manager—they should be able to generate a usage report.
It’s usually close enough to adapt. If not, reach out and we’ll help convert or interpret it.
If someone prints at home (e.g., a director with a company printer), simply add that usage to the primary office location they’re assigned to.
Example: If Employee A prints at Location X but works from Location A, include their output in Location A’s total.